Setup Menu Layout
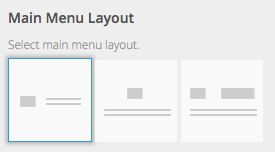
Theme Support various menu layouts and you can change it via Appearance > Customize > Navigation > General > Menu Layout.
Theme Support custom WordPress menu, you can organise them into dropdown menu too.
For those who are not familiar with WordPress menu system below are video tutorial.
Setup Main Menu
![]()
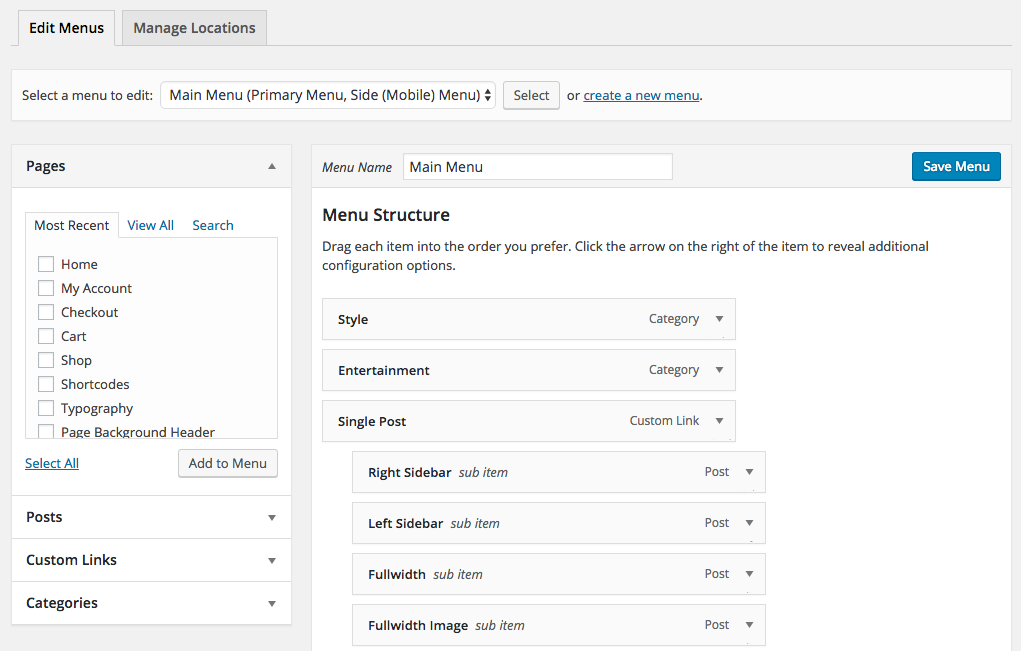
- Go to Appearance > Menus. Click “Create Menu” button
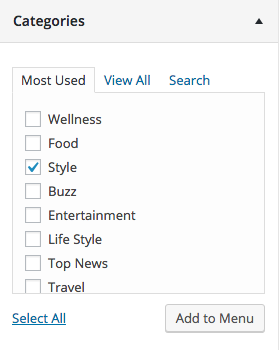
- To add menu items, select one of your pages/posts/categories on the left hand boxes. Then click “Add To Menu”.
- If you want to add custom link menu item (for example home link). Select “Links” and enter URL, Link Text there.
- You can organise your menu items using drag&drop functionality. Simple drag a menu item right below to the parent menu item.
- After setting up your menu, scroll down to the bottom of the page then assign the menu to “Primary Menu” in the Theme Locations box.
Sticky Menu (Optional)
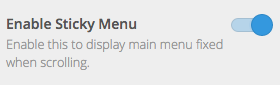
If you enable sticky menu option. When visitor scroll down to page. The menu bar will stay at top while visitor scrolling. You can enable this option via Appearance > Customize > Navigation > General >Enable Sticky Menu
There are 2 options for sticky menu color scheme “Light” and “Dark”. You can select this option via Appearance > Customize > Navigation > General > Sticky Menu Color Scheme
Mega Menu (Optional)

Mega Menu is extensive sub menu which allow you to display large amount menu items into columns. You can select from 2-4 columns. To setup mega menu. Open Appearance > Menus then you can drag menu items to be child of parent items.
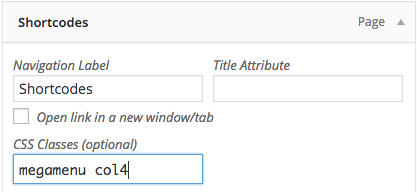
On menu parent item, open its option box and add class “megamenu” to enable mega menu display. Then enter number of columns you want. For example if you want to display mega menu in 4 columns enter class “col4“.
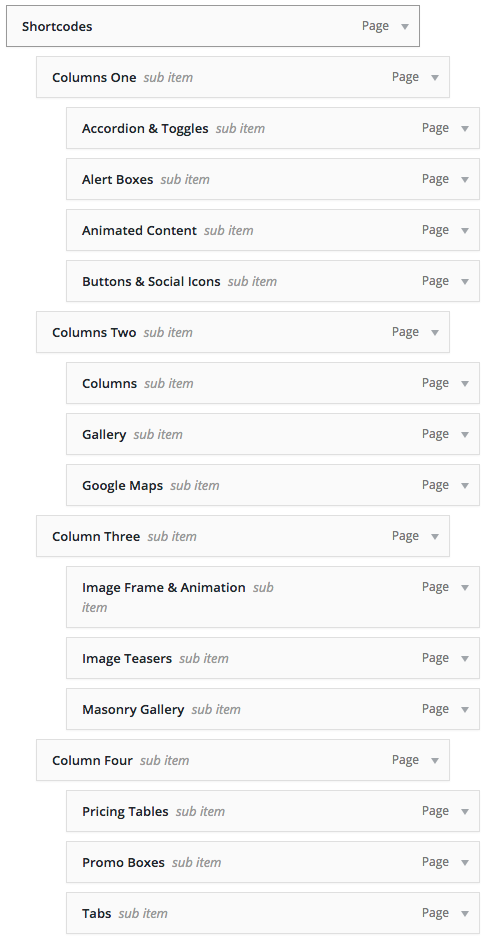
So you need to add and organise menu items of this mega menu into 4 columns. Please see above screenshot of Appearance > Menus to get an example.
You can also can display or hide columns name.

By default it displays each mega menu columns name. You can also hide it by open menu item option and add “hidden” CSS class.
Category Posts Mega Menu

Category Posts Mega Menu is extensive sub menu which allow you to display recent posts from selected category. To setup it. Open Appearance > Menus then you drag category to menu items.

Open its option box and add class “catmenu” or “catmenu2” to enable category posts mega menu display.
Customise Main Menu Options and Colors
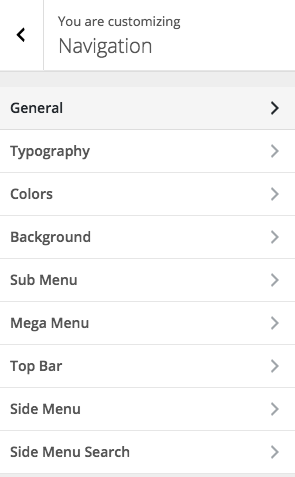
You can fully customise main menu options ex. typography, colors, background colors etc. Go to Appearance > Customize > Navigation
Setup Top Bar Menu (Optional)
![]()
- Go to Appearance > Menus. Click “Create Menu” button
- To add menu items, select one of your pages/posts on the left hand boxes. Then click “Add To Menu”.
- If you want to add custom link menu item (for example home link). Select “Links” and enter URL, Link Text there.
- You can organise your menu items using drag&drop functionality. Simple drag a menu item right below to the parent menu item.
- After setting up your menu, scroll down to the bottom of the page then assign the menu to “Top Bar Menu” in the Theme Locations box.
Note: top Bar Menu is not support sub menu.
Setup Side Menu (Mobile Menu)
Side menu is hidden by default. Visitor click three bar icon on the top right of screen to open it. It’s also main menu or tablet (portrait view) and mobile devices.
- Go to Appearance > Menus. Click “Create Menu” button
- To add menu items, select one of your pages/posts on the left hand boxes. Then click “Add To Menu”.
- If you want to add custom link menu item (for example home link). Select “Links” and enter URL, Link Text there.
- After setting up your menu, scroll down to the bottom of the page then assign the menu to “Side (Mobile) Menu” in the Theme Locations box.
Enable Side Menu on Desktop.
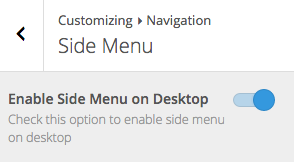
By default. Side Menu displays only for tablet (portrait view) and mobile devices. However you can also enable it on desktop and tablet landscape view too. Open Appearance > Customize > Navigation > Side Menu > Enable Side Menu on Desktop
Customise Side Menu Options and Colors
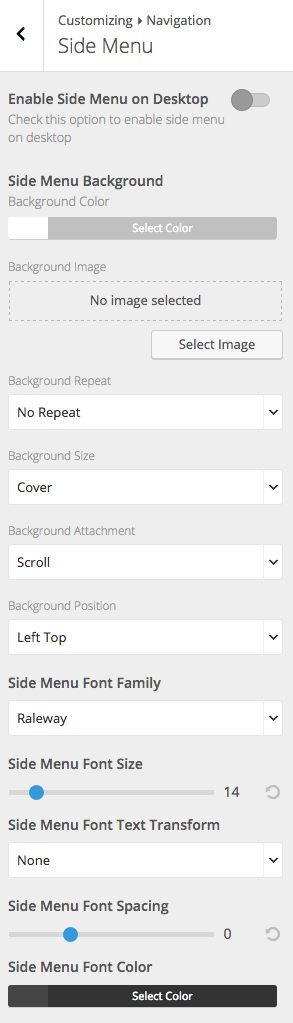
You can fully customise main menu options ex. typography, colors, background colors etc. Go to Appearance > Customize > Navigation > Side Menu
Setup Footer Menu (Optional)
- Go to Appearance > Menus. Click “Create Menu” button
- To add menu items, select one of your pages/posts on the left hand boxes. Then click “Add To Menu”.
- If you want to add custom link menu item (for example home link). Select “Links” and enter URL, Link Text there.
- You can organise your menu items using drag&drop functionality.
- After setting up your menu, scroll down to the bottom of the page then assign the menu to “Footer Menu” in the Theme Locations box.
- Open Appearance > Customize > Footer > Copyright > Copyright Right Area Content and select “Footer Menu”.
NOTE: Footer menu is not support sub menu.