Once you create tour posts. To display your tours on page, you have to create a tour page. Here are the steps to create a tour page.

- Go to WordPress Dashboard > Pages and click Add New
- Add page title and content. Then find Page Attributes box on the right side.
- Select template begin with Tour… as page template.
- Once you are done. Click Publish button
Tour Category Page
Above instruction is to create tour page which displays all tour items but you can also display tours by selected tour category.

From WordPress Dashboard > Tours > Tour Categories. Click on tour category you want to create a page.
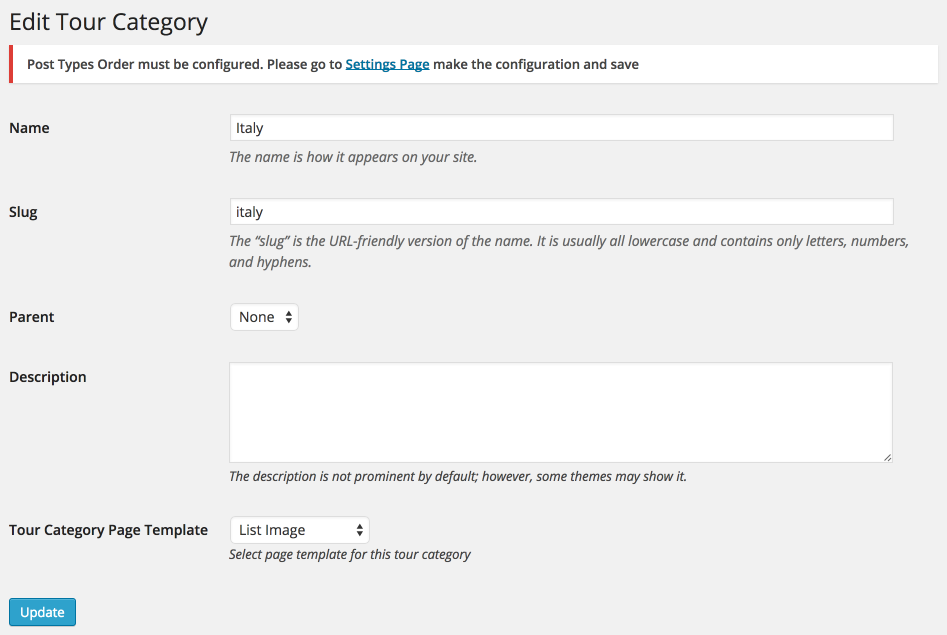
In edit tour category page. Select “Tour Category Page Template” you want for this tour category and click “Update”.

Next go to Appearance > Menus and select tour category page on the left side and add it to main menu item and save changes. If you can’t see it, click on screen option (top right) and check on tour categories.
Tour Content Builder
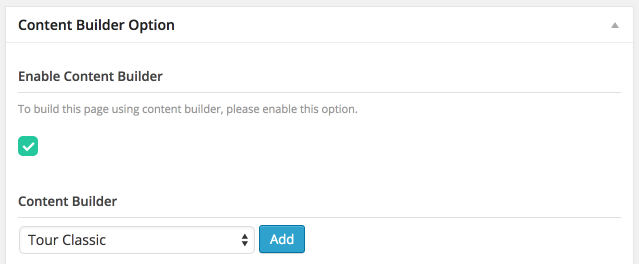
You can also display menu content using Content Builder too. When you create a page. Find content builder option box and select Tour as its content type and click Add button. There are 3 modules for tour content “Tour Classic”, “Tour Grid” and “Tour Search Form”.