First you have to create a gallery. From your admin sidebar, open Galleries > Add New Gallery. You will get add new gallery form. Enter gallery title and description then click “Publish”.

Next you have to add images to this gallery. From gallery admin page. Click on “Upload Image”.
Then select images you want to upload to this gallery. Once you finish upload each image. It will automatically attach to this gallery. You can also change image title and description from this page. If you want to change order of images within gallery. You can easily drag&drop image next to each one. Once you finish dragging, click “Update” to save changes.
Gallery Option
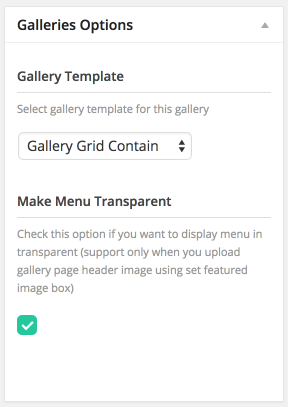
OK now you have images in your gallery. Next step is to select gallery template. In Edit Gallery Page, you will find “Galleries Options” box. Then select “Gallery Template” you want. In this case, selected “Gallery Fullscreen”.
Next “Make Menu Transparent” option. Check this option to display main menu in transparent (support if upload gallery header image using set featured image option)

Lastly, you can upload gallery’s cover image using “set featured image” box and it will display as gallery page header.
Sorting Images in The Gallery
By default you can drag&drop to order images using gallery admin. However if you have many images in the gallery. It’s not easy to change image order using drag&drop. So you can overwrite image order using Theme Setting. Open Theme Setting > Gallery > Gallery Images Sorting and select sorting option you want to use.
Global Gallery Settings
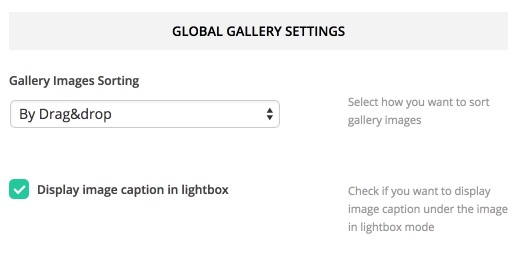
You can change global gallery options. Open Theme Setting > Gallery > Global Gallery Settings
Gallery Fullscreen Slideshow Settings

You can also change gallery fullscreen options. Open Theme Setting > Gallery > Fullscreen Slideshow Settings