First you have to create a gallery.
- From your admin sidebar, open Galleries > Add New Gallery. You will get add new gallery form as below picture.
- Enter Gallery Title and Excerpt for example short description about the gallery then click “Publish”.
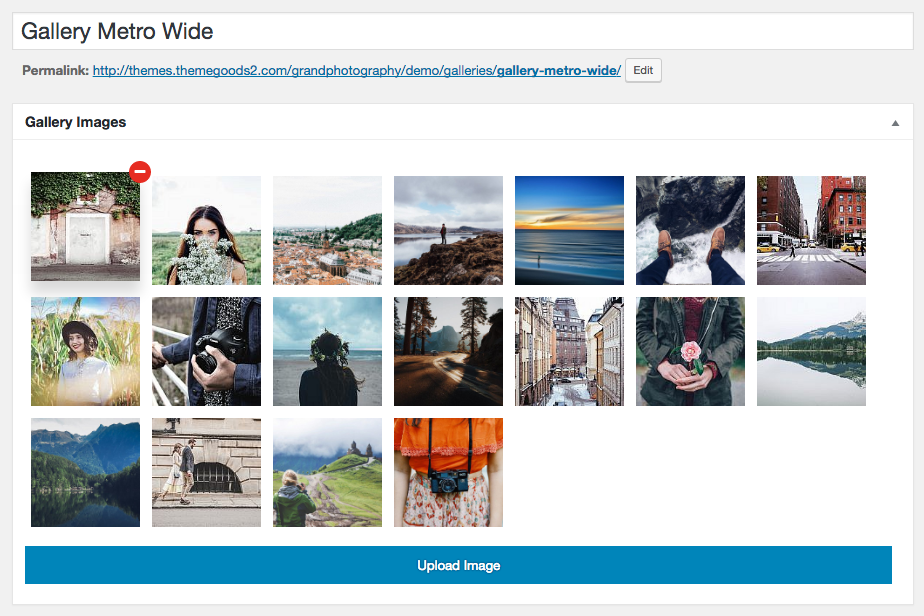
- Next you have to add images to this gallery. From gallery admin page. Click on “Upload Image” as below picture.
- Then select images you want to upload to this gallery. Once you finish upload each image. It will automatically attach to this gallery.
- You can also change image caption and description by clicking image from this page. If you want to change order of images within gallery. You can easily drag&drop image next to each one. Once you finish dragging, click “Update” to save changes.
Gallery Featured Image
Next you can add gallery featured image which display as gallery cover in gallery archive page as following picture.
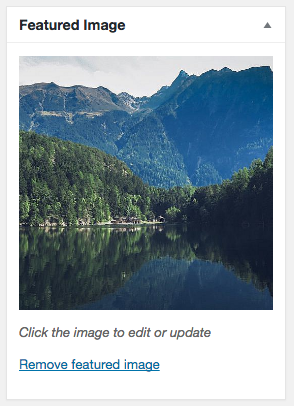
IMPORTANT: Please make sure you set gallery’s featured image otherwise gallery won’t appear in gallery archive pages.
Gallery Option
OK now you have images in your gallery. Next step is to select gallery template. In Edit Gallery Page, you will find “Galleries Options” box. Then select “Gallery Template” you want. In this case, selected “Gallery Fullscreen Cover”.
You can also add “Password Protected” for this individual gallery page. Just enter your gallery password and when visitor view your page, they will need to enter password, you have entered here. This is option is best for displaying image gallery for certain customers.
The last option is “Gallery Download” option. Upload zip file of your gallery images and it can be download by visitors when view the gallery page.
Create a Gallery Page using Content Builder
- Go to WordPress Dashboard > Pages and click Add New
- Add page title. Then click “Edit in Content Builder”.
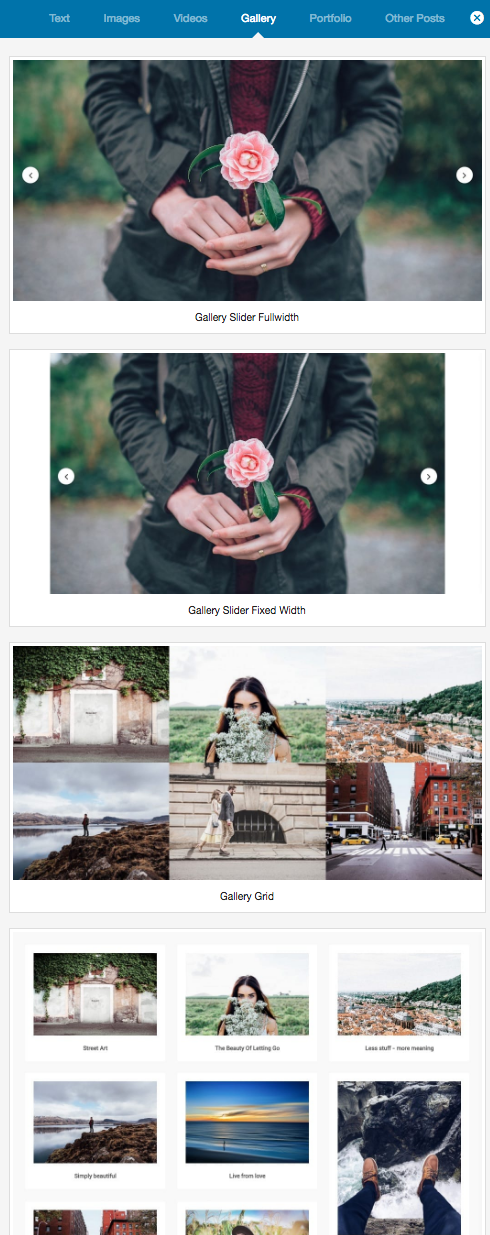
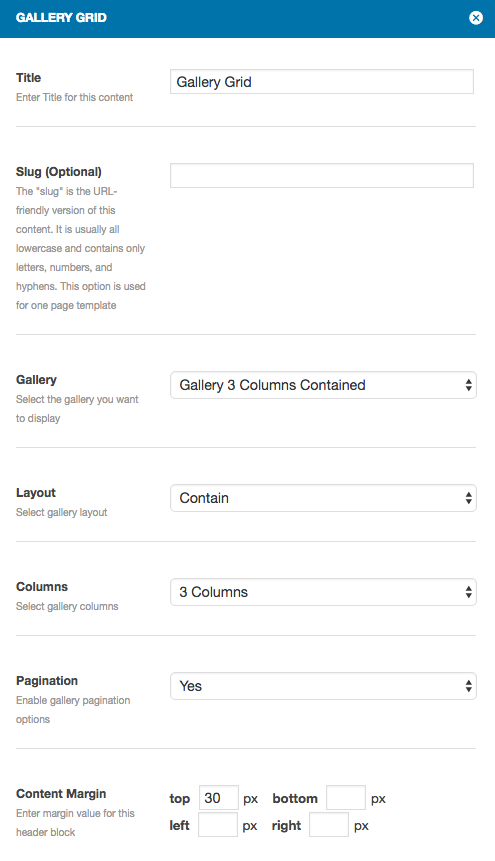
- Click add new button and select module begin with “Gallery…”. Click add button. It will open a popup with gallery’s options.
- Customise gallery’s options and once you finish click “Update” button and save changes on page.
Infinite Scroll Gallery
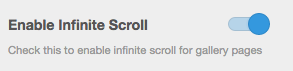
To enable infinite scroll for portfolio module. Go to Appearance > Customize > Gallery > Pagination and check “Enable Infinite Scroll” option.
Gallery Pagination Option

To enable pagination on project page. Go to Appearance > Customize > Gallery > Pagination. You will see lists of options for each portfolio columns layouts.
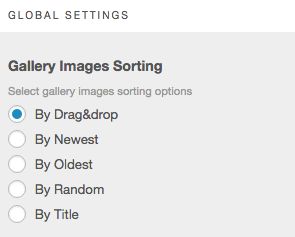
Sorting Images in The Gallery
By default you can drag&drop to order images using gallery admin. However, if you have many images in the gallery. It’s not easy to change image order using drag&drop. So you can overwrite image order using Appearance > Customize > Gallery > Images Sorting and select sorting option you want to use.
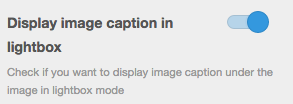
Gallery Image Caption
You can enable image title to display small description text of your photos.
- From your admin sidebar, open Galleries and click on gallery you want to change its image caption.
- Click on image and it will open image edit form.
- Enter image caption and click “Update”.
Once you finish editing images caption. You can enable or disable it via Theme Setting. From your admin sidebar, open Appearance > Customize > Gallery > Lightbox as below picture.
Gallery Image Purchase URL
You can also add purchase button to each image in gallery. For example link to purchase page of Woocommerce shop etc. Open WordPress Dashboard > Media and select image you want to edit. Look at image’s options on the right side and there is “Purchase URL” option.
Gallery Fullscreen, Kenburns, Flow Settings
You can also change gallery templates options (Fullscreen slideshow, Kenburns, ImageFlow). Open Appearance > Customize > Gallery
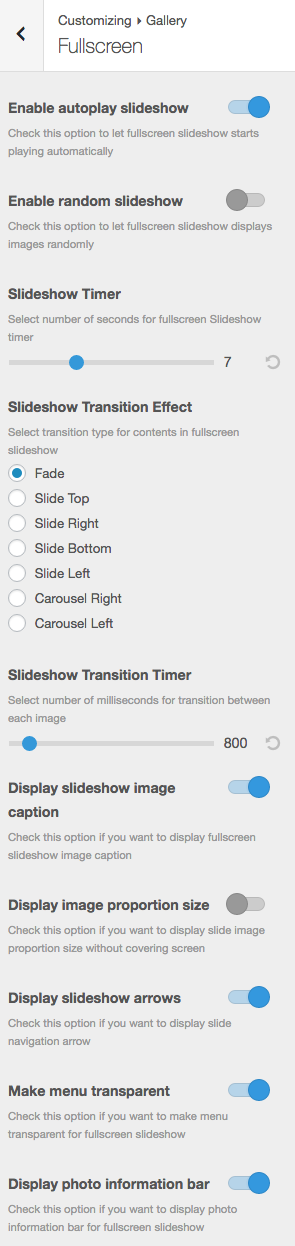
Fullscreen Gallery Settings
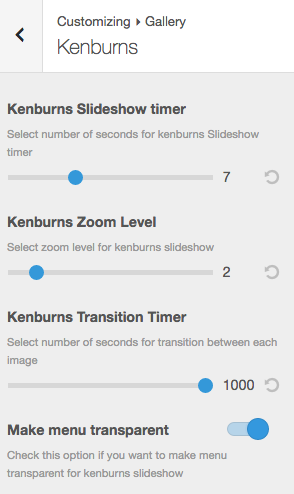
Kenburns Gallery Settings
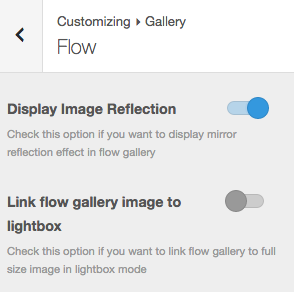
Flow Gallery Settings
Customise Gallery Image Lightbox
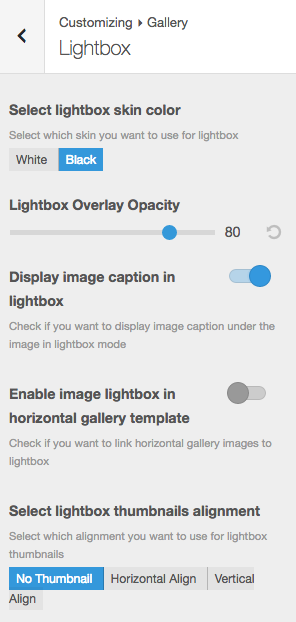
You can also customise gallery inage lightbox options for example skin, background opacity etc. Open Appearance > Customize > Gallery > Lightbox
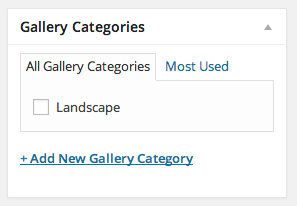
Setting up Gallery of Categories page
Theme also has built-in “Gallery Categories” so you can organise galleries into category. When you create a gallery. Look at Gallery Categories box and check category you want to assign the gallery to and click “Update”.
Next is to create a gallery category page. Go to Appearance > Menus. On the left side, you will find “Gallery Category” box (If you can’t see it, click on screen option (top right) and check on gallery categories). Check the category you want and add to menu item. Once finish, click “Save Menu”.
Gallery Category Page Layout Settings
You can change gallery category page layout setting using Galleries > Gallery Categories. Click on category you want to edit and select “Gallery Category Page Template”.

Setting up Gallery Archive page
Once you assign galleries to gallery categories. You can also create gallery archive page. Go to Pages > Add New then select “Gallery Archive…” as page template.