First thing to create tour content is to create a tour post. Theme has various post options for you display different content on your tour informations.
- Go to WordPress Dashboard > Tours > Add New Tour
- Enter post title and content. You can use any shortcode or HTML Editing Fields.
- Upload tour featured image using set featured box on the bottom right side. All pages will use this image for post preview image and thumbnail.
- Once you finish, click Publish.
IMPORTANT: You have to upload a featured image to each tour post in order to load in tour pages.
Tour Options
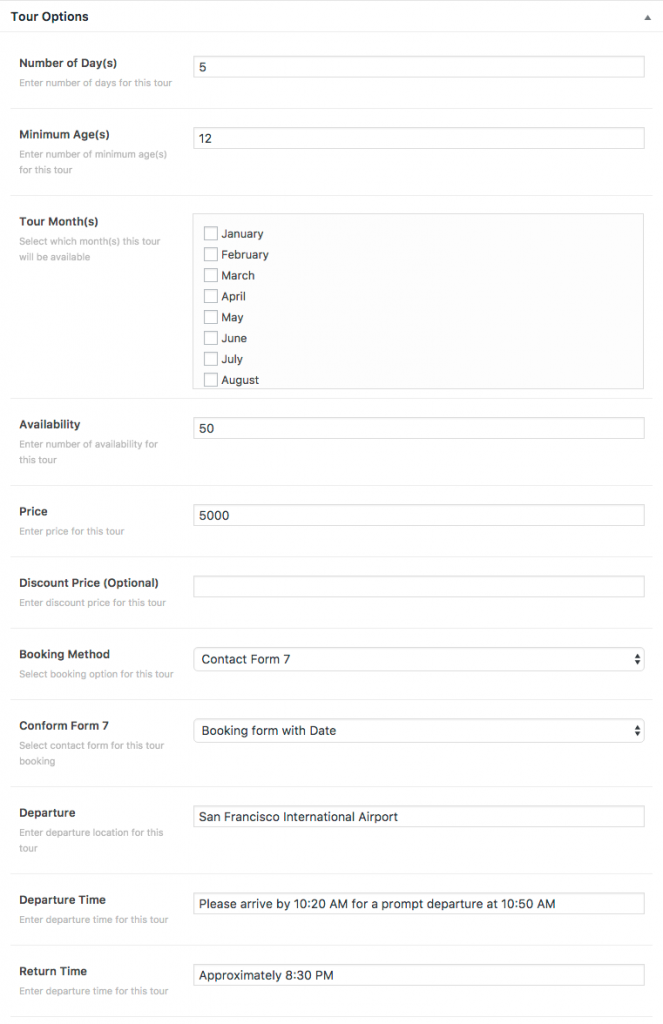
- Number of Day(s) – Enter number of days for this tour
- Number of Hours(s) (Optional) – Enter number of hours for this tour. This option is only available when you enter 1 for number of day field.
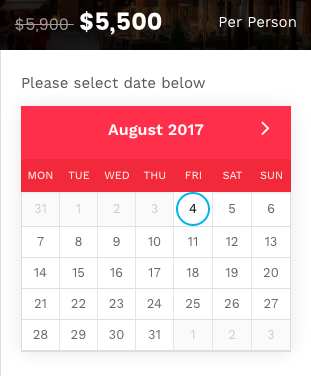
- Available Days(s) – Select which day(s) this tour will be available. You can select multiple days. This option is only available when you enter 1 for number of day field.
- Minimum Age(s) – Enter number of minimum age(s) for this tour
- Tour Month(s) – Select which month(s) this tour will be available. You can select multiple months.
- Availability – Enter number of availability for this tour
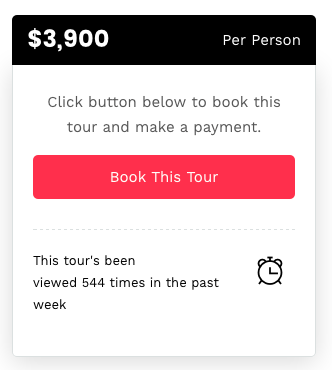
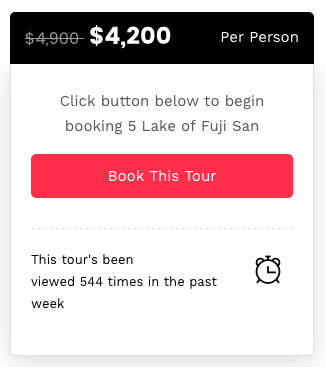
- Price – Enter price for this tour
- Discount Price (Optional) – Enter discount price for this tour
- Label (Optional) – Enter label for this tour. For example Sale
- Booking Method – Select booking option for this tour. We will cover detail of each booking method later in this article.
- Departure – Enter departure location for this tour
- Departure Time – Enter departure time for this tour
- Return Time – Enter departure time for this tour
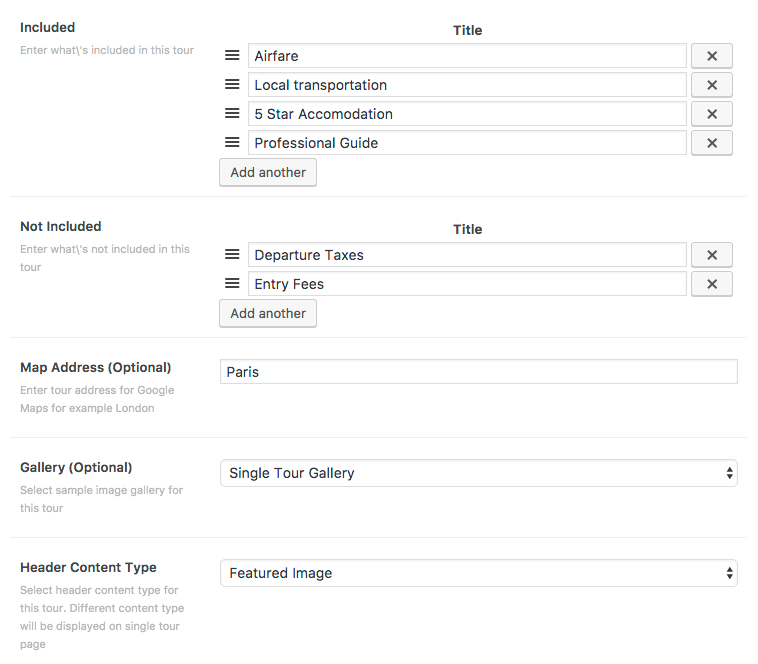
- Not Included – Enter what’s not included in this tour
- Map Address (Optional) – Enter tour address for Google Maps for example London
- Gallery (Optional) – Select sample image gallery for this tour
- Tour Video Preview (Optional) – Enter video preview embed HTML code for this tour. For example you can enter embed code from Youtube, Vimeo video here
- Header Content Type – Select header content type for this tour. Different content type will be displayed on single tour page
- Single Tour Page Layout – Enter layout for this tour
Setup Single Day Tour
By default, tour options are built for multiple days tour. You can enable single day tour option by enter 1 value for Number of Day(s) field.
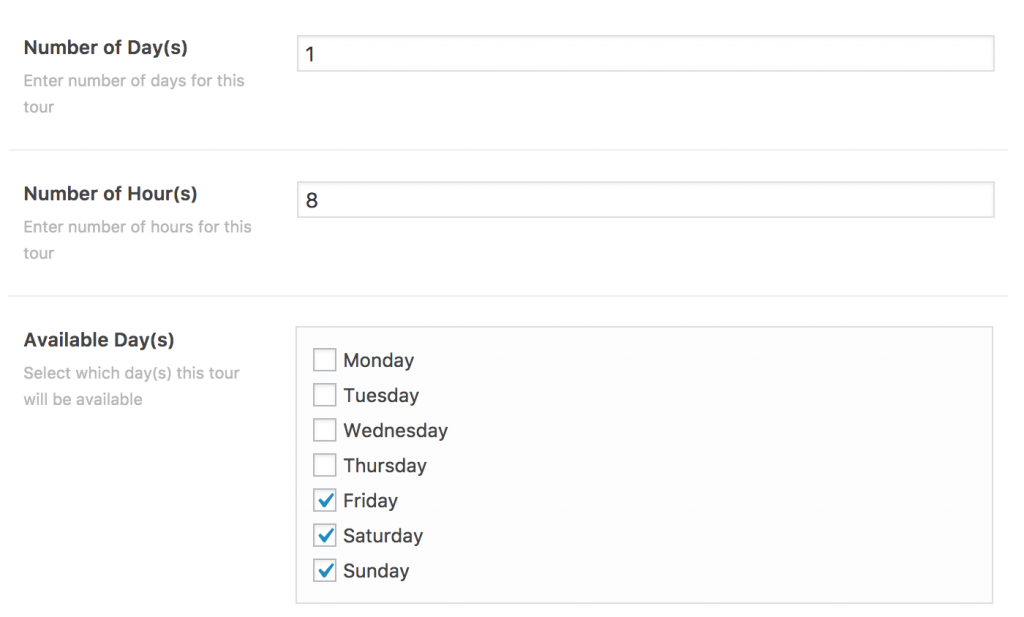
Then Number of Hours(s) and Available Days(s) fields will appear.
Change Tour Map Marker
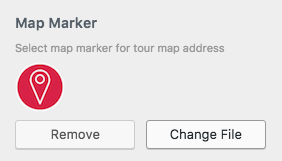
By default, theme will use red map marker image for tour’s map. However you can upload your own marker image using Appearance > Customize > Tour > Single Tour Page > Map Marker.
Booking Method
There are 3 booking methods for tour.
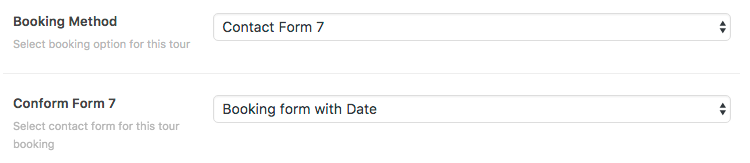
Booking using Contact Form 7 Plugin
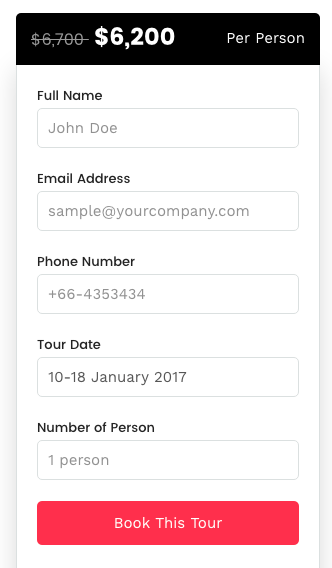
This method will using custom contact form created by Contact Form 7 plugin. So when your customer complete booking form. It will send email to your setup email address in Contact Form 7 setting page.
Then you just select contact form your created using Contact Form 7 plugin in tour option and save change changes.
Import Demo Contact Form 7 Booking Form
First you have to download import demo file here then open WordPress Dashboard > Tools > Import > WordPress. Unzip the file you downloaded you will find .xml file which you can use to import demo contact form.
Booking using Woocommerce product
This method will using Woocommerce product. So when your customer complete booking form. It will add selected product to cart and your customer can checkout and pay using online payment options from Woocommerce.
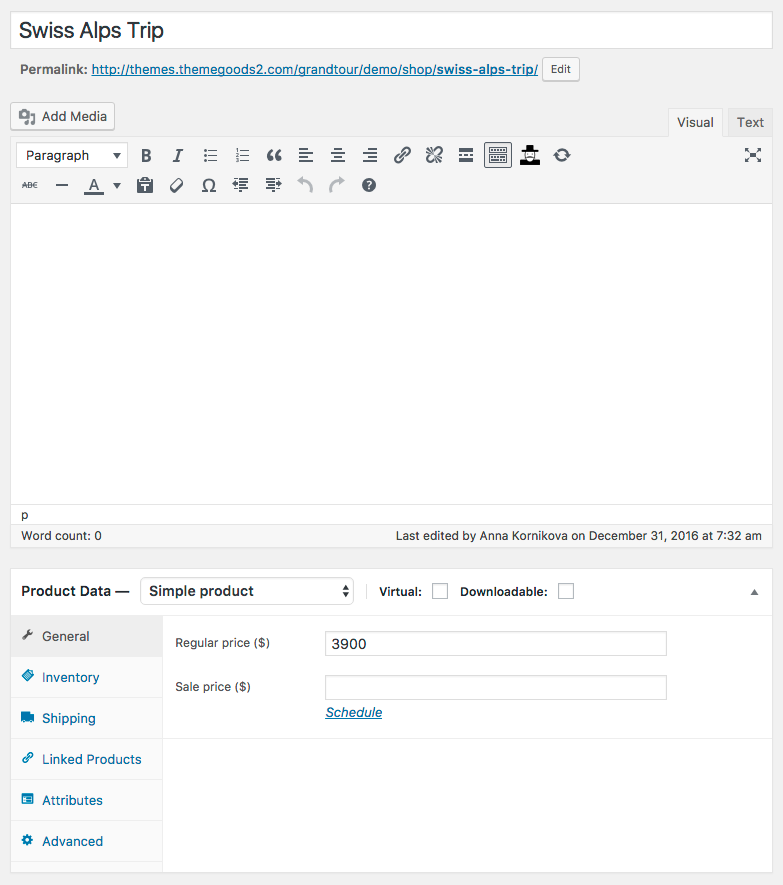
First you have to create a product for this tour via WordPress Dashboard > Products > Add Product. Enter product informations including price option.
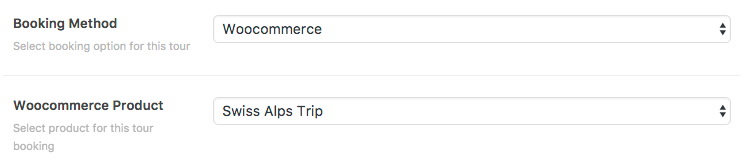
Now when you edit tour item, look at tour options > booking method. Select “Woocommerce” and you will see “Woocommerce Product option. Select product your just created and save changes.
So when you are on tour page. You will booking button and once your customer click it. It will add this product to cart and ready to checkout with online payment option.
Booking using external URL
This method will use custom URL. So when your customer complete booking form. It will redirect your customer to entered URL page.
Booking using custom HTML & Shortcode
This method will use custom HTML or Shortcode you entered to “Booking HTML & Shortcode” field.
Tour Excerpt

You can also enter short description about your tour using its excerpt field.
Tour Tags

You can also enter tour tags and tags will be used to selected similar tours items on each single tour page.
Tour Views

If you want to enable this tour view counter option. Just install Post View Counter plugin and it will works automatically.
Display Number of Travelers are online
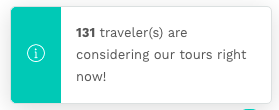
If you want to enable this tour view counter option. Just install WP User Online plugin and it will works automatically.
You can also customise wording of online users using plugin’s settings in Settings > UserOnline
Single Tour Sidebar
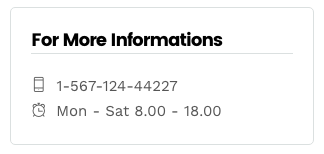
You can also add widgets for example contact informations to “Single Tour Sidebar” via Appearance > Widgets.
Organise tours by Tour Categories
If you want to categorized tour items by categories ex. Europe, Asia etc. You can do that easily.
- Open WordPress Dashboard > Tours > Tour Categories You will see list of for example tour you have.
- If you don’t have any, please create one first so you can assign tour items to it.
- Now back to edit tour page. Look at “tour categories” box and you will see list of your current tour categories. Check one you want to assign this portfolio to and save changes.
How to add tour category page
Basically when you create tour categories. WordPress automatically added these pages for you. You just have to find the url of it or add it to main menu. Open Appearance > Menus and select for example “Tour Categories” you want to add to main menu.

But if you couldn’t see this option. Click “Screen Options” at the top right of edit menu page and check “Tour Categories” options.
How to change tour category page template

You can change tour category page layout setting using Tours > Tour Categories. Click on category you want to edit and select “Tour Category Page Template”.
Single Tour Page Settings
You can change single post page settings. Go to Appearance > Customize > Tour > Single Tour Page
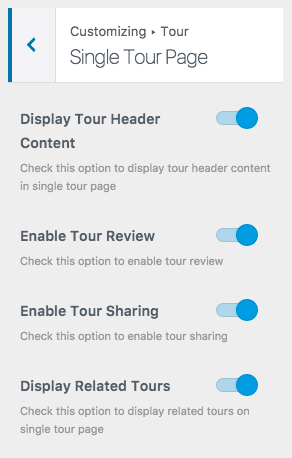
- Display tour header content – This option will displays featured tour content on the top of tour page.
- DisplayTour Review – This option will enable review options for tour so your customers can leave review on each tour.
- Display Tour Sharing – This option will displays sharing button under tour booking form.
- Display Related Tours -This option will displays similar tour items at bottom of tour page. It will use tour tags to find similar tour items.