Generally tour has 3 booking methods.
- Contact Form 7
- Woocommerce Product
- External URL
You can see detail instructions about how to setup tour post here. So this article will focus on setting up variable pricing for tour.
You have to use Woocommerce Product for booking method. First you have to create variations for example adult, child, infant using Woocommerce Attributes option.
Please make sure you install and activate Woocommerce plugin first. From WordPress Dashboard >Products > Attributes. Use “Add new attribute” form to create for example “Age” attribute.
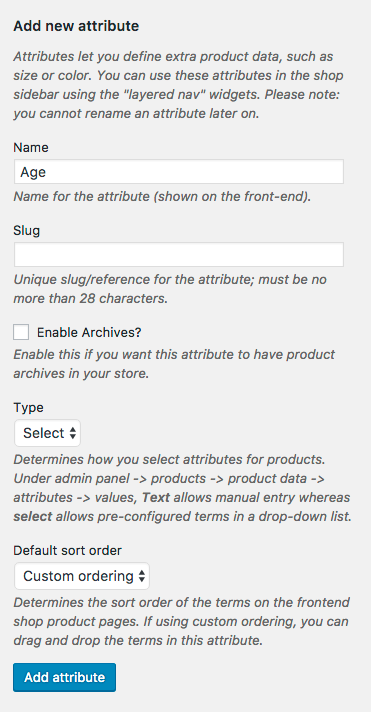
Click “Add Attribute” button and you will see it on the table here.

Open Age attribute page and use “Add new Age” form to create multiple attributes ex. adult, child, infant.
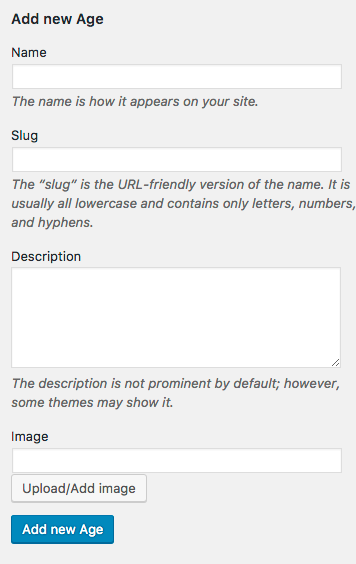
Click “Add new” button and you will see it on the table here.
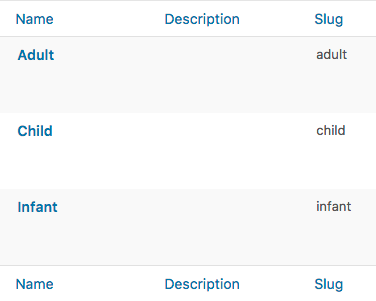
Now you have 3 product attributes adult, child and infant. Next step is to create product for tour post. From WordPress Dashboard >Products >Add Product. You will have a new product form. Enter product title, short description and upload its featured image then save change.
Next look at “Product data” table, select “Variable product” and select “Attributes” tab.
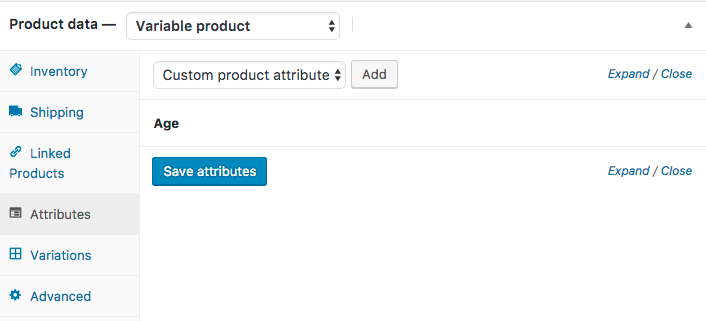
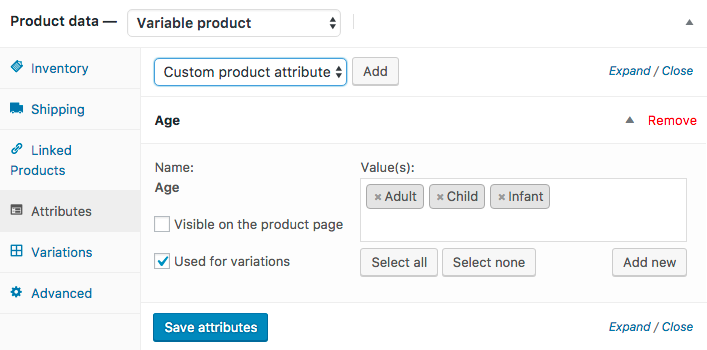
Then click add button and expand its option. Please make sure you do following.
- Check “Used for variations” option.
- Click “Select all” button.
- Then save changes by clicking “Save attributes” button.
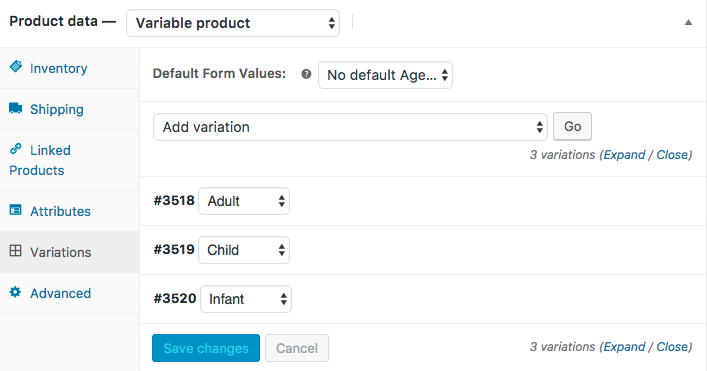
Next click “Variations” tab and add variations you want for this product. For example I added 3 variations adult, child and infant.
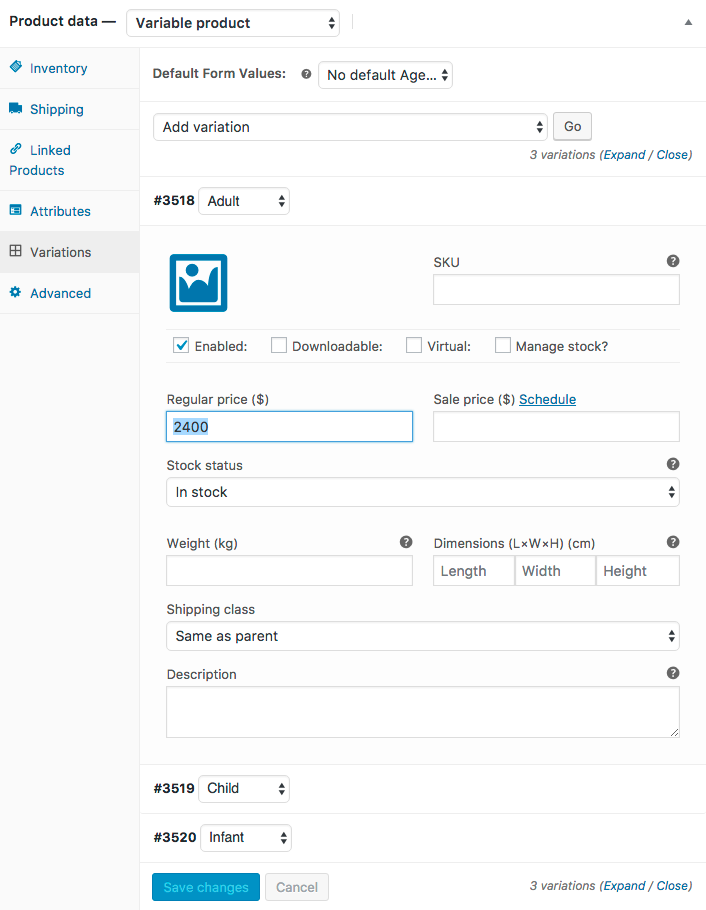
Click on each variation row to expand its option and make sure you enter its price and save changes.
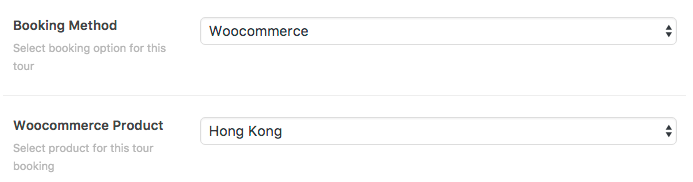
Now you have product with variable pricing for tour. Next from WordPress Dashboard > Tours and select which tour you want to link to this product pricing.
Look at tour options, select Booking method as “Woocommerce” and select Woocommerce Product option to one you just created. then save changes.
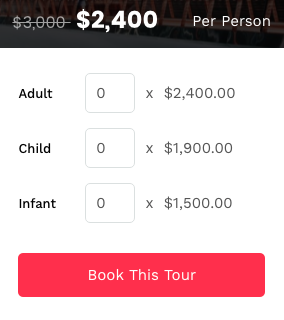
On live single tour page, you will see this variable pricing options for tour booking.