Create a Tour Page using Page Template
Once you create tour posts. To display your tour on page, you have to create a tour page. Here are the steps to create a tour page.
- Go to WordPress Dashboard > Pages and click Add New
- Add page title and content. Then find Page Options box.
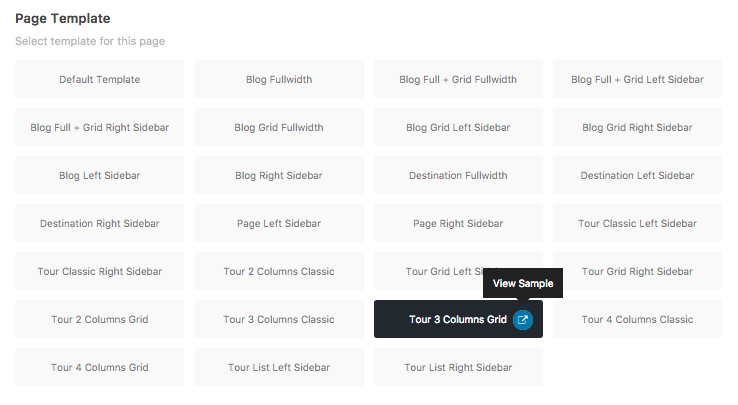
- Select template begin with Tour… as page template.
- Once you are done. Click Publish button.
Create a Tour Page using Content Builder
- Go to WordPress Dashboard > Pages and click Add New
- Add page title and content. Then click “Edit in Content Builder”.
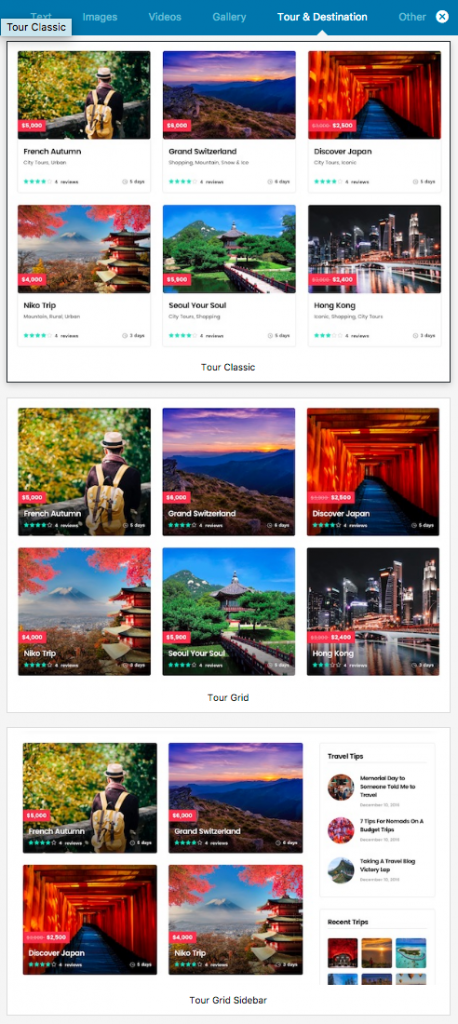
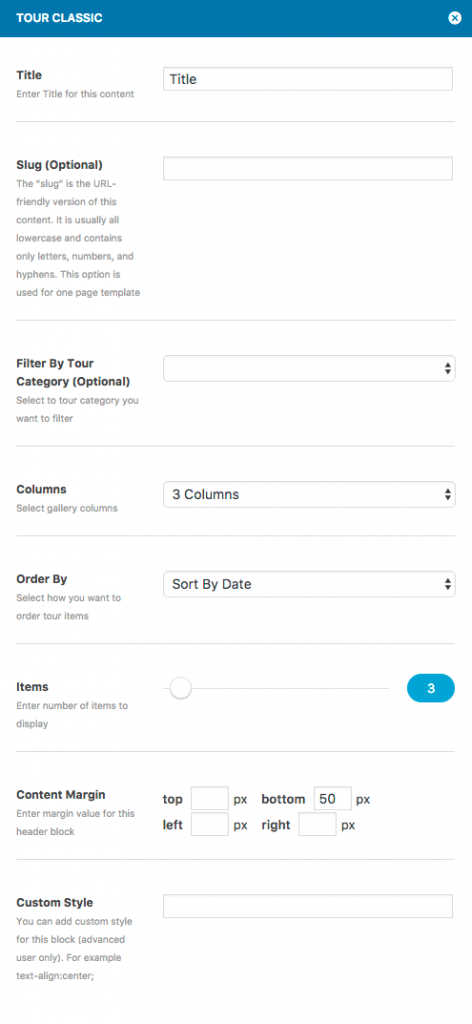
- Click add new button then click “Tour & Destinations” tab and select module begin with “Tour…“. Click add button. It will open a popup with options.
- Customise options and once you finish click “Update” button and save changes on page.
IMPORTANT: Tour page created with content builder don’t support pagination. To use pagination, using page template method instead.
Tour Search Form
There are 2 methods of creating tour search form. Using page template or content builder.
Using Tour Page Template – It will automatically add tour search form at the top of tour page template automatically.
Using Content Builder – When you create a page using content builder module. Click add new button then click “Tour & Destinations” tab and select module begin with “Tour Search…“. Click add button. It will open a popup with options.

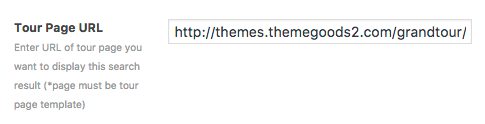
There is one required field for tour search module to work properly. Tour Page URL. You have to create a tour search result page using tour page template and then enter URL of it into this option so when your customer uses tour search form. It will displays search result using selected tour template.
Tour Category Page Layout Settings

You can change tour category page layout setting using Tours > Tour Categories. Click on category you want to edit and select “Tour Category Page Template”.